Your New SSD Doesn't Show Up in Windows: Work Through It in This Order
A new drive missing from File Explorer is usually uninitialised, not broken. The safe order to check — with the exact step that erases data, flagged before you take it.
You installed a new SSD, Windows booted normally, and the drive is nowhere in File Explorer. This is one of those problems that feels like a dead drive and almost never is. In the overwhelming majority of cases the drive is present, healthy, and simply has not been through the one-time preparation Windows requires before it will show you a drive letter.
Microsoft states the situation plainly in its own documentation: "When you add a new disk to your computer, the disk isn't immediately available in Windows File Explorer. First, you need to initialize the disk so it's ready for use by Windows. You might also need to assign a drive letter to the disk."
So the first question is not "is my drive broken" — it is "does Windows see the disk at a lower level than File Explorer?"
Read this before you touch anything
One step in this process destroys data, and it is the step everyone jumps to first.
Microsoft's warning on initialising a disk is explicit: "If you want to initialize a disk already in use, first save the existing files to a backup location. The initialization process erases all data on the disk."
That matters because Disk Management shows every disk in your machine in one list, identified only as Disk 0, Disk 1, Disk 2. If you initialise the wrong one, you have wiped a drive that was working. Before you click anything, match the disk you intend to touch by its capacity and its current contents — the disk you want is the one showing entirely unallocated space and the size of the drive you just fitted. If two disks in the list are the same size and you cannot tell them apart with certainty, stop and physically disconnect the other one first. That is a five-minute job; restoring a wiped drive is not.
The same warning applies doubly to diskpart. Its clean command is destructive and gives you no confirmation dialogue worth the name. There is no reason to reach for it on a brand-new drive.
Step 1: does Disk Management see it?
Open Disk Management the way Microsoft documents it: from the Start menu, type Create and format hard disk partitions, then right-click that result and choose Run as administrator. (Microsoft notes the account needs to be in the Administrators or Backup Operators group.) If that route fails, open Computer Management as administrator instead and go to Storage → Disk Management.
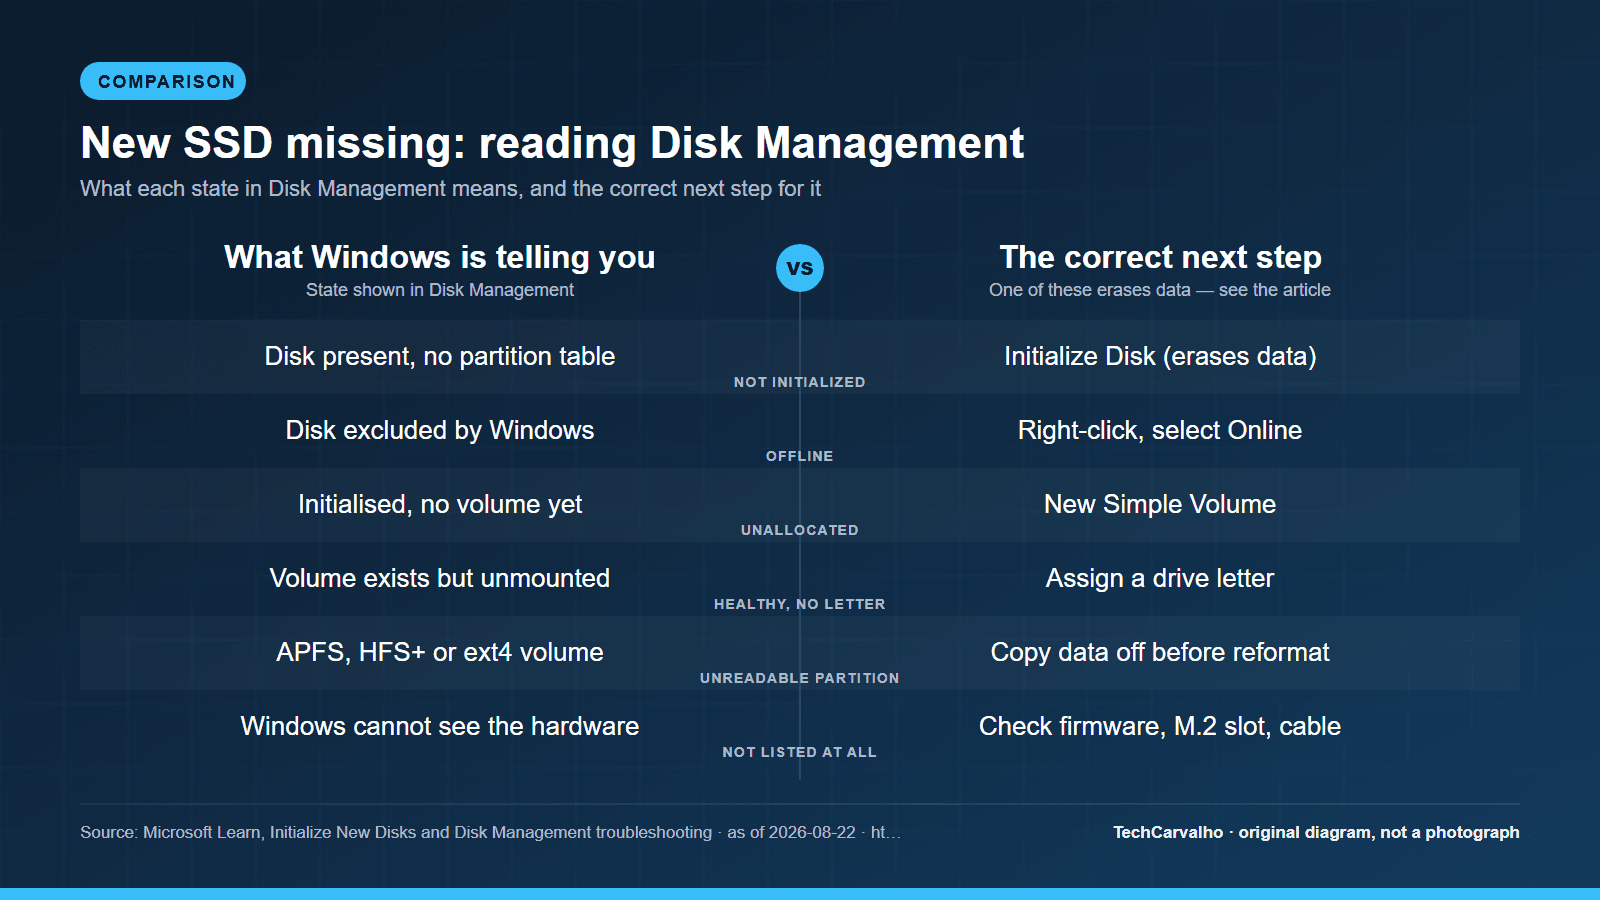
Now look at the list of disks. There are three outcomes, and they send you down three different paths:
- The disk is listed, marked "Not Initialized". This is the common case. Go to Step 2.
- The disk is listed and initialised, but its space is "Unallocated", or it has a healthy partition with no drive letter. Skip to Step 3.
- The disk is not listed at all. Windows genuinely cannot see the hardware. Go to Step 4 — and do not initialise anything, because there is nothing there to initialise.
Step 2: initialise, then create a volume
Having confirmed you have the right disk, Microsoft's documented sequence is:
- If the disk shows as Offline, right-click it and select Online.
- Right-click the disk and select Initialize Disk.
- In the dialog, confirm the correct disk is selected, check the partition style, and select OK. The default is GUID Partition Table (GPT).
- The status shows Initializing briefly, then Online.
- Right-click the Unallocated space, choose New Simple Volume, accept the default size (which uses the whole drive), assign a drive letter, choose NTFS, and finish.
On GPT versus MBR: take the default. Microsoft's guidance is that "most computers use the GPT disk type for hard drives and solid-state drives (SSDs)" because "GPT is more robust and allows for volumes larger than 2 terabytes," while MBR "is an older disk type" used by 32-bit and older computers and removable media. Microsoft's own summary is the useful one: "You don't usually have to worry about assigning the partition style."
If you prefer PowerShell, Microsoft documents the Initialize-Disk cmdlet as the equivalent. The GUI is safer here precisely because it makes you look at the disk you selected.
Step 3: it's initialised but still invisible
Two sub-cases, both harmless:
- Healthy partition, no drive letter. Right-click the partition, choose Change Drive Letter and Paths, and add one. Nothing is erased by assigning a letter.
- Unallocated space on an initialised disk. Create a New Simple Volume as in Step 2. This formats that space, which on a new drive is empty anyway.
There is a third case worth naming: a drive that came from a Mac or a Linux machine and holds an APFS, HFS+ or ext4 filesystem. Windows will see the disk and the partition but not read it, so it never gets a drive letter. If the data on it matters, do not reformat — copy it off from a machine that can read it first. If it does not, deleting the partition and creating a new NTFS volume is the fix, and it erases that drive.
Step 4: Disk Management can't see the disk at all
Now you are looking at a connection, configuration or hardware problem rather than a Windows formatting problem. Work down this list — it is ordered roughly by how often each one turns out to be the cause, and every step is reversible.
Check the BIOS/UEFI first. Reboot into your firmware setup and look at the storage or NVMe device list. If the firmware sees the drive but Windows does not, the problem is in Windows. If the firmware also cannot see it, Windows was never going to.
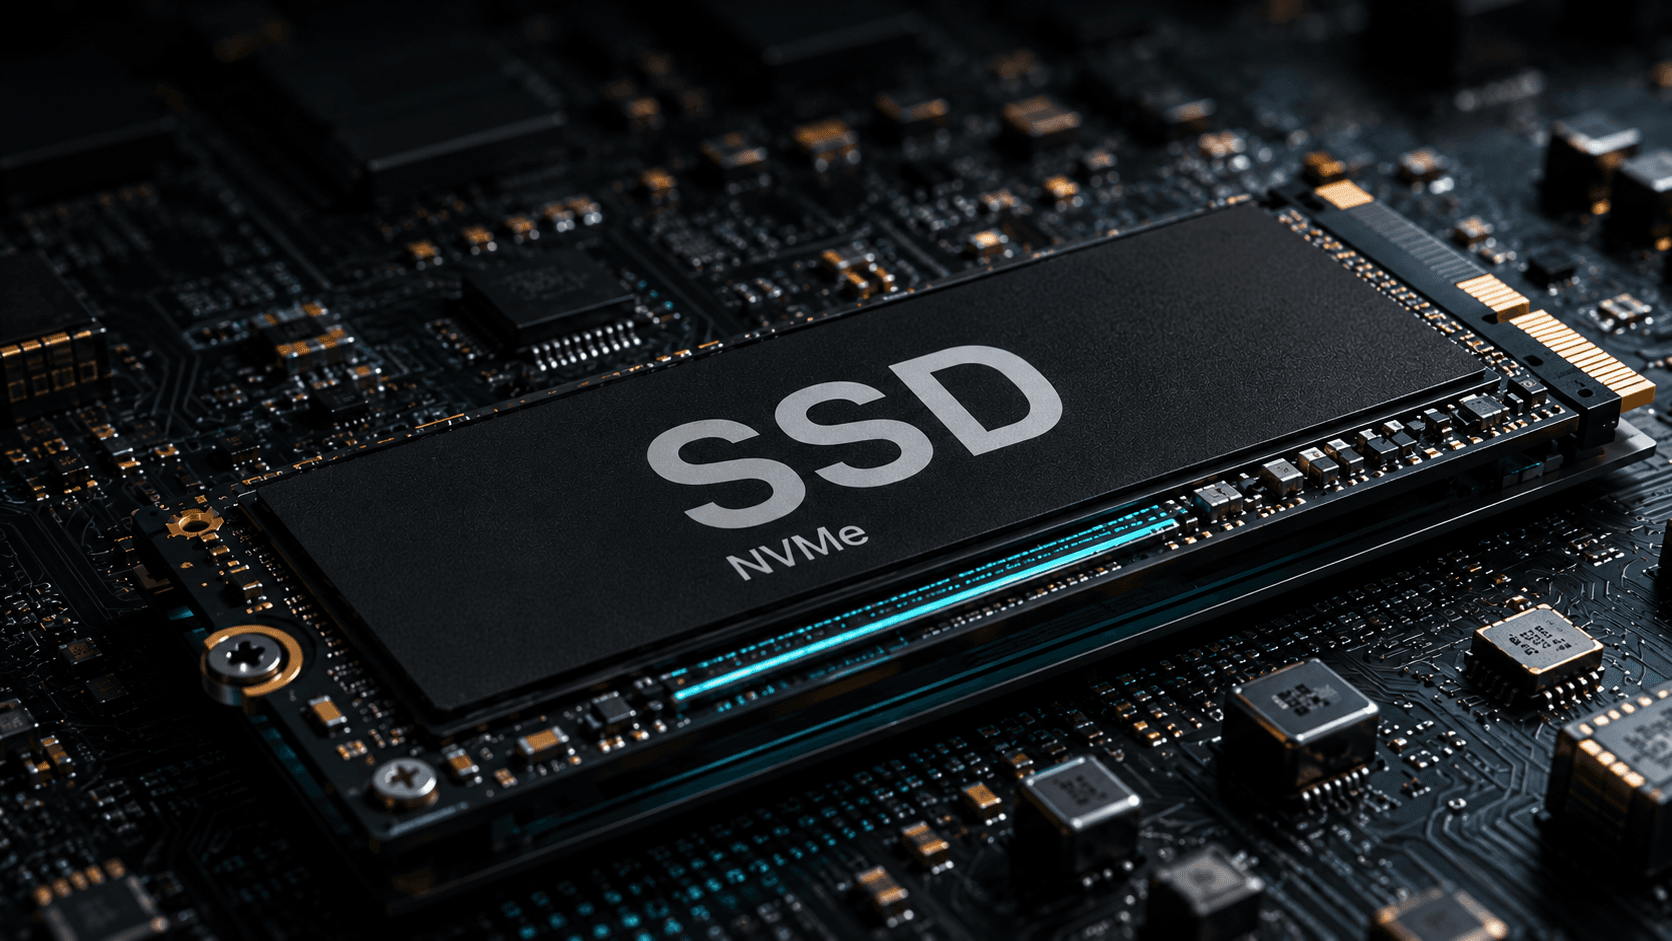
M.2 slot sharing. This is the single most common cause of a genuinely invisible NVMe drive, and it is a design decision rather than a fault: many motherboards share a limited pool of PCIe lanes between M.2 slots and certain SATA ports or a PCIe slot, so populating one disables another. Which slots conflict is specific to your board — the block diagram or the storage-configuration notes in your motherboard's own manual will state it, and there is no general rule that holds across boards. If the drive vanished and a SATA device also stopped appearing at the same time, this is almost certainly why. Moving the drive to a different M.2 slot is the test.
Physical seating. An M.2 drive sits at an angle until it is screwed down; it is easy to have it in the slot but not fully seated, and easy to lose the retention screw or standoff. Re-seat it, make sure it is pushed fully home before the screw goes in, and check the standoff is under the right mounting hole for the drive's length.
Cables, for SATA drives. Both the data cable and the power connector. Swap the SATA data cable for a known-good one and try a different port on the motherboard — a dead SATA port is uncommon but not rare.
A storage driver Windows setup doesn't have. If you are hitting this during a Windows installation rather than inside a running Windows, and the installer shows no drives at all, the usual cause is a storage controller mode — Intel's VMD/RST configuration in particular — where Windows setup needs the controller's driver loaded before it can see NVMe drives. The fix is either to load that driver at the "Load driver" prompt in setup, or to change the controller mode in firmware. Consult your motherboard vendor's page for your specific board before changing the mode, because changing it on a system that is already installed can stop it booting.
Test the drive elsewhere. A USB NVMe or SATA enclosure, or another machine, tells you in five minutes whether the drive itself is dead. If a second machine also sees nothing, you have a warranty claim rather than a configuration problem.
Microsoft also publishes a dedicated troubleshooting article for "Disks that are missing or not initialized," which is the right next stop if the disk appears and initialisation itself fails.
When this does not matter to you
- You are looking at a drive that already has data on it and merely lost its letter. Assigning a letter is the whole fix — do not initialise, do not format, do not follow a guide that tells you to.
- The drive shows up fine but reports less capacity than the box claimed. That is a units question, not a fault: drive makers count a gigabyte as 1,000,000,000 bytes and Windows displays in binary units. A "1 TB" drive showing roughly 931 GB is behaving normally, and no amount of reinitialising changes it.
- You are on a Mac or Linux. None of the Windows-specific steps here apply; the underlying logic — the disk exists, it just has no usable filesystem or mount point yet — is the same, but the tools are Disk Utility or lsblk/gparted.
If none of this worked
At this point you have established which of two very different problems you have. If Disk Management sees the disk but every attempt to initialise or format it fails with an I/O error, the drive is likely failing and the next step is the manufacturer's own diagnostic utility and a warranty claim — not more formatting attempts. If Disk Management and the firmware both see nothing, and the drive works in another machine, the problem is your slot, port or lane configuration, and your motherboard manual is now the most useful document you own.
Sources
- Microsoft Learnprimary source
- Microsoft Learnprimary source
- Microsoft Learnprimary source
Tech Carvalho does not publish hands-on test results. This piece is written from the sources above and from public documentation. See our editorial policy.