Astrophotography for Beginners: A Practical Starting Guide
The camera settings and gear that actually matter for your first night-sky photos — and why understanding exposure matters more than owning better equipment.
Astrophotography has a reputation for requiring expensive, specialized equipment before you can take a single usable photo. That reputation is mostly wrong for the entry point — a huge amount of genuinely satisfying night-sky photography is possible with a camera capable of manual exposure control, a wide-aperture lens, and a tripod. What actually determines whether your first attempts work isn't the gear tier, it's understanding a small number of concepts that don't apply to daytime photography.
The one thing that's different about night photography
In daylight, your camera has more light than it needs and exposure is mostly about creative choices. At night, you have the opposite problem: not enough light, and every setting becomes a trade-off against a specific limitation. Understanding those limitations, not owning better gear, is what separates a usable astrophotography result from a disappointing one.
The four settings that actually matter
**Aperture**: as wide open as your lens allows (the lowest f-number). This is not optional the way it sometimes is in daylight — a wider aperture lets in more light per second, which is the single most valuable thing you can do at night.
**Shutter speed**: long enough to gather light, short enough that stars don't visibly trail into streaks due to the Earth's rotation. There's a rough starting guideline photographers use — divide a number (roughly 500, adjusted down for higher-resolution sensors and cropped formats) by your lens's focal length to estimate a maximum shutter speed before trailing becomes visible — but treat it as a starting point to test and adjust, not a fixed rule, since sensor resolution and pixel-level scrutiny change how visible trailing actually is.
**ISO**: high enough to produce a usable image at your chosen aperture and shutter speed, but every camera has a point where higher ISO trades brightness for visible noise. There's no universal "correct" ISO — it depends on your specific camera's sensor, and the only way to know your camera's actual limit is to test it yourself on a real night sky and examine the results.
**Focus**: autofocus generally does not work reliably on stars — there isn't enough contrast for the camera to lock onto. Manual focus, checked by zooming into the live view image on the brightest star or planet you can find, is the standard approach.
What you need before you start
A camera with manual exposure mode (M) and manual focus capability — most interchangeable-lens cameras from the last decade or more qualify, this is not a spec that requires recent gear. A lens with a reasonably wide aperture — f/2.8 or wider is a common recommendation, though narrower apertures still work with longer exposures and higher ISO. A tripod, which is non-negotiable; no exposure long enough to gather adequate starlight can be held steady by hand. A remote shutter release or the camera's self-timer, to avoid the vibration of physically pressing the shutter button during a long exposure.
Where to actually start
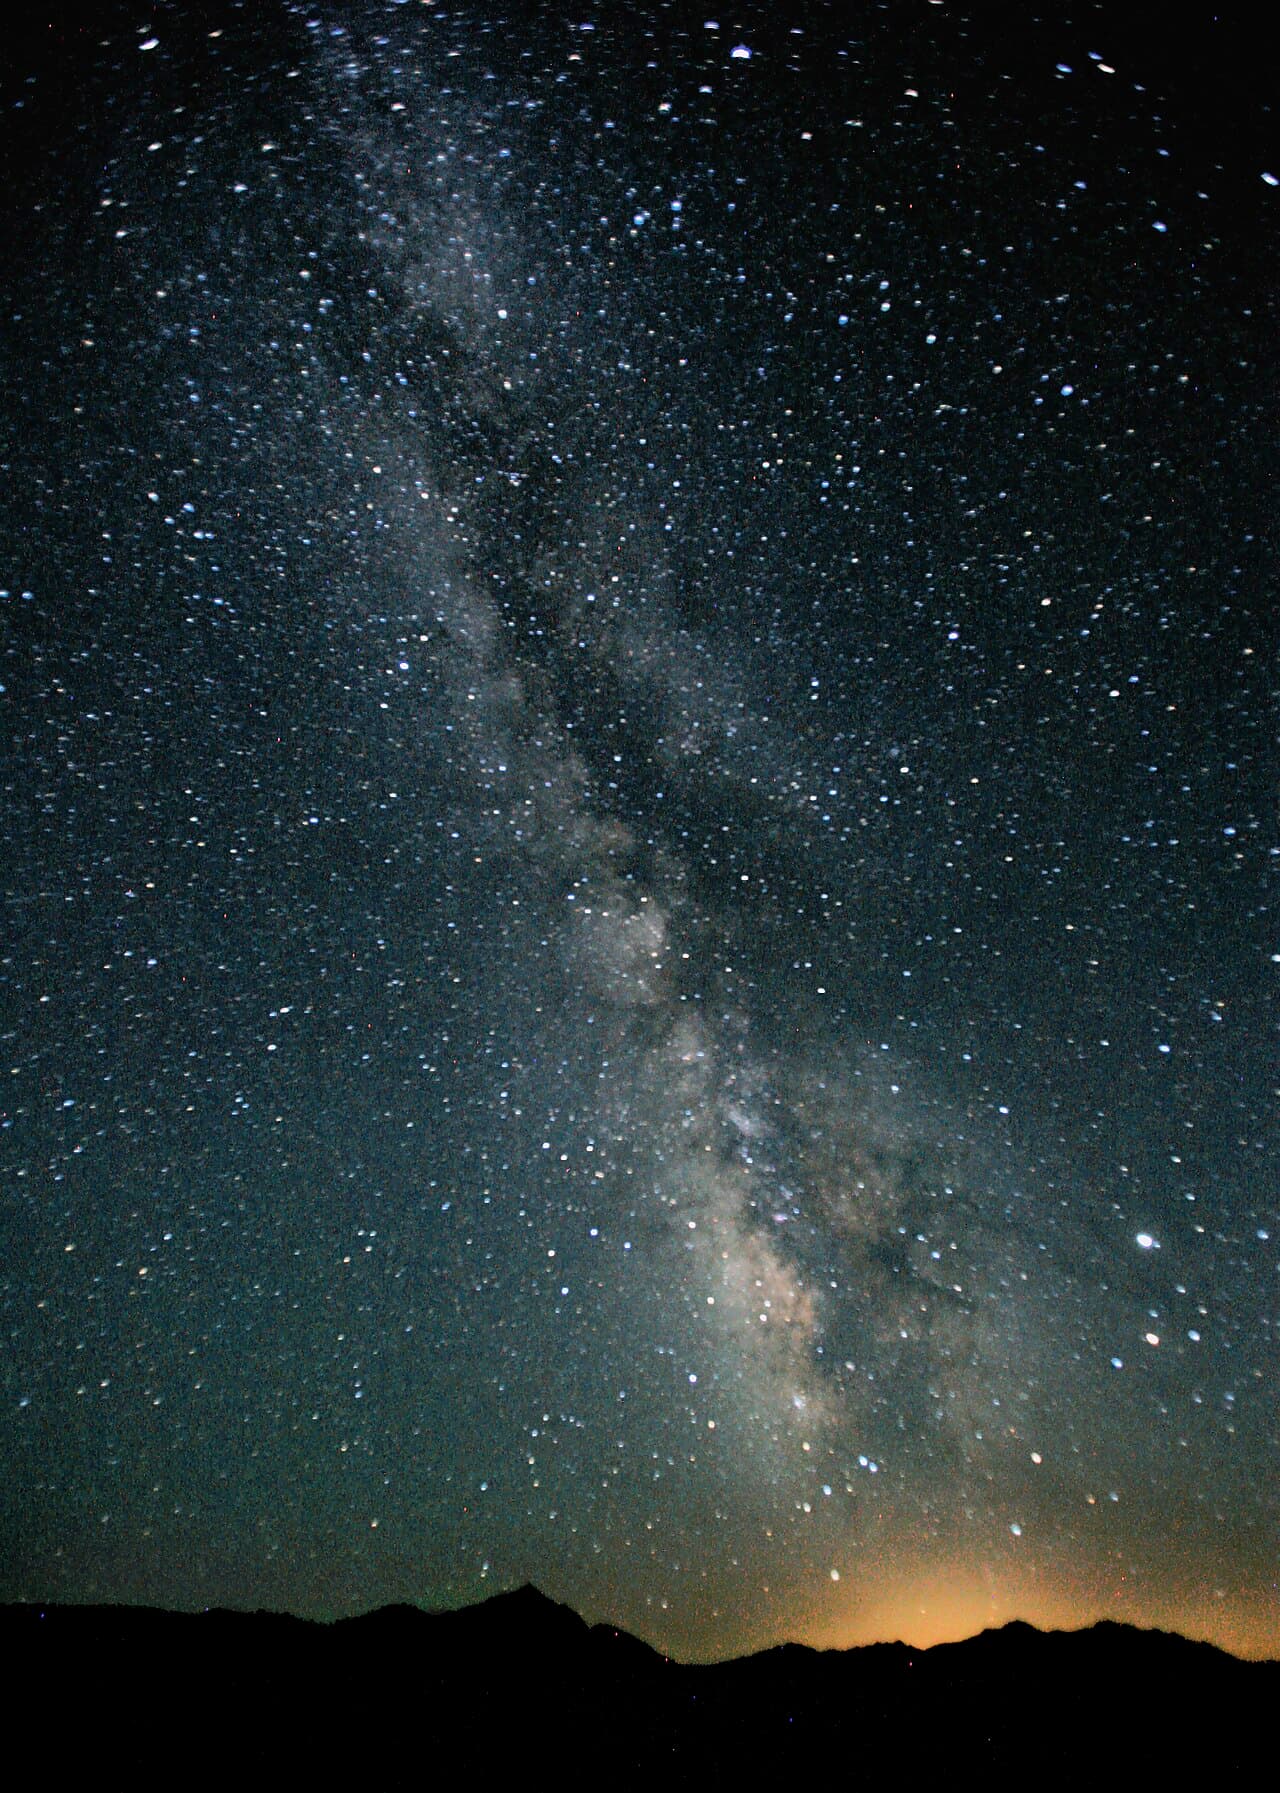
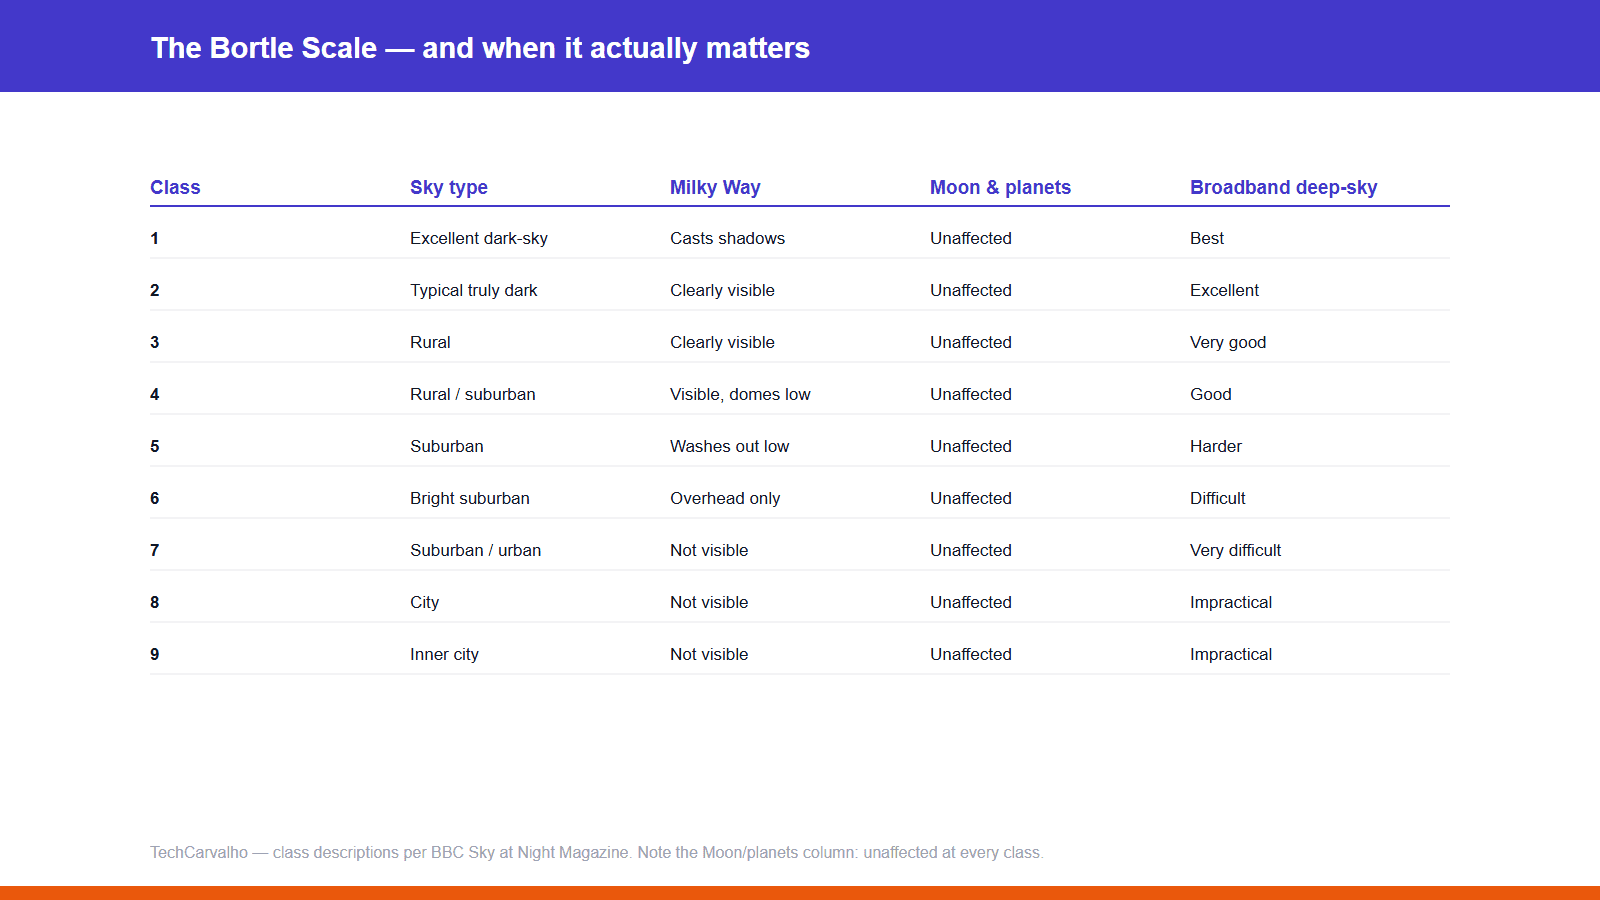
A clear night, away from significant light pollution if possible, photographing a wide starfield or the Milky Way if it's visible from your location and season. Don't start with something that requires tracking equipment (see the tripod-vs-tracker guide linked below) — a static wide-field shot teaches you the fundamentals without adding the complexity of a second piece of gear to learn simultaneously.
The honest expectation for a first attempt: it probably won't look like the photos that motivated you to try this. That's normal. The gap between a first attempt and a genuinely good result is mostly about repetition — learning your specific camera's noise behavior, your lens's real usable aperture, and how to judge focus in the dark — not about buying more equipment.
More in this guide series
9 pieces that build on this one.
 Guide
GuideMeteor Shower Photography: Camera Settings and Realistic Expectations
How to set up a wide-field meteor shoot, why most exposures come back empty, and what actually improves your odds of capturing a meteor.
 Guide
GuideTripod vs Star Tracker: Which Do You Actually Need First?
Why a star tracker isn't usually the right first astrophotography purchase, and the real signal that tells you when you've outgrown a static tripod.
 Guide
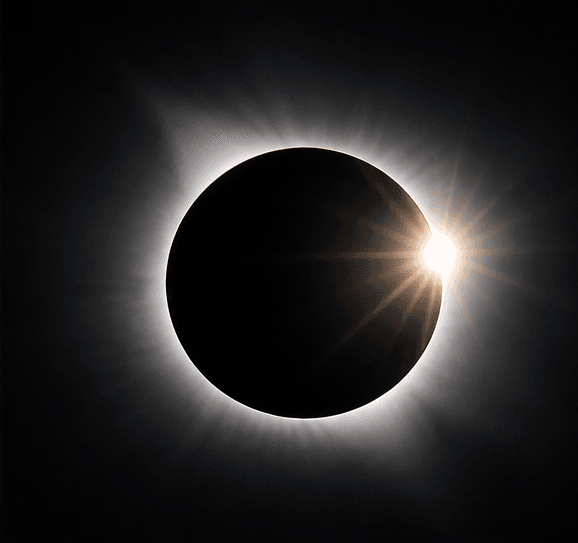
GuideSolar Photography Safety: What You Must Know Before You Point a Camera at the Sun
Why sunglasses and stacked ND filters aren't safe substitutes for a real solar filter, where the filter actually goes, and the one moment during an eclipse when removing it is safe.
 Guide
GuideWide-Field Astrophotography: Getting the Milky Way Without a Tracker
Why the Milky Way's core is a special case among astrophotography subjects, when it's actually visible from your location, and why a wide lens on a tripod gets you further than you'd expect.
 Guide
GuideEquatorial Mounts Explained: Do Beginners Actually Need One
What an equatorial mount actually does mechanically, how it differs from the compact camera star tracker most beginners start with, and the real signal you're ready to step up.
 Guide
GuideCamera Settings for Astrophotography: Manual Mode Explained
Why automatic modes fail at night, and how to build a manual exposure from aperture, shutter speed, and ISO for genuinely usable astrophotography.
 Guide
GuideHow to Photograph the Moon (Without a Telescope)
Why Moon photography uses the opposite settings from the rest of the night sky, and what focal length and exposure actually produce visible surface detail.
 Guide
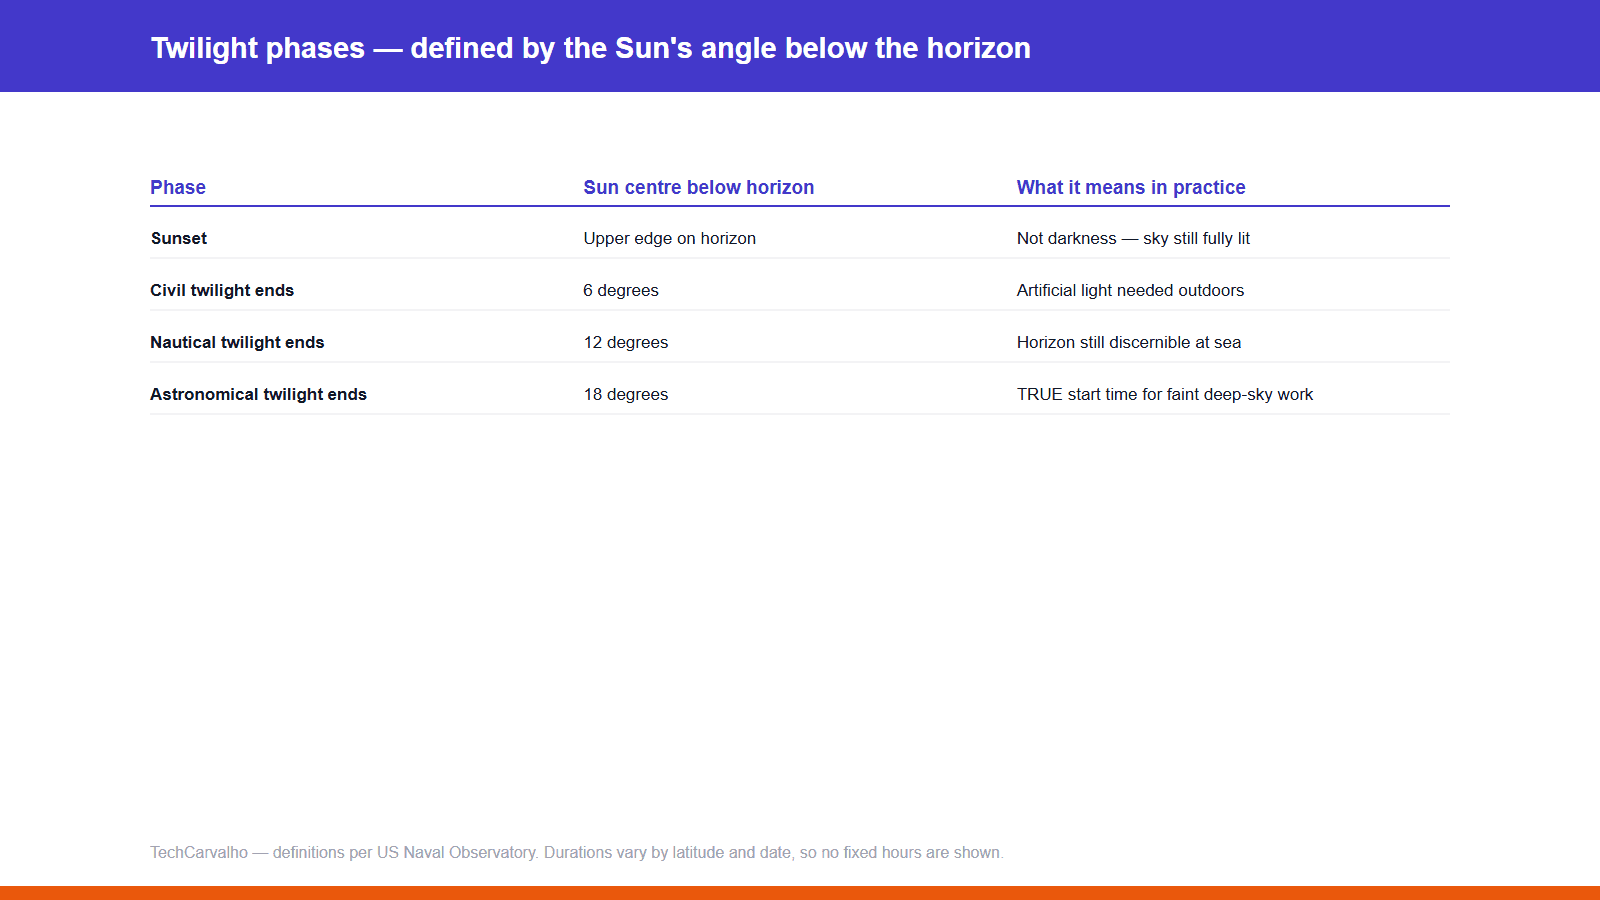
GuidePlanning an Astrophotography Night: Moon Phase, Twilight and Timing
 Guide
GuideThe Bortle Scale: What Your Sky Class Actually Means for Astrophotography